Build programs. Get signatures. Free users.
Entropy enables users to generate cryptographic signatures without directly interacting with their private key. Solving this problem allows developers to create all kinds of automated tooling and blockchain infrastructure, freeing users from the busy-work of the modern blockchain.
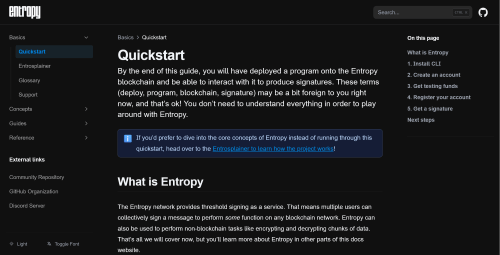
Understand the basics of Entropy with the Quickstart guide.

Learn about the core concepts of Entropy with the Entrosplainer.
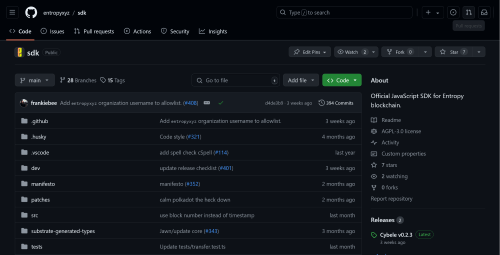
Dive right into the codebase with the reference docs.
Join the Community
Want to mingle with the Entropy community? Head on over to the Entropy Community Discord.
Follow our main Twitter account for quick updates and annoucements.
You can checkout the Community GitHub Repo for discussions, announcements, and support.
Need help?
Are you stuck with something and aren’t sure what to do? Head over to the Entropy Community repo for support. You can also check out the Entropy Discord if you want to chat to the community!